Why a storefront screen can look dim even at high brightness
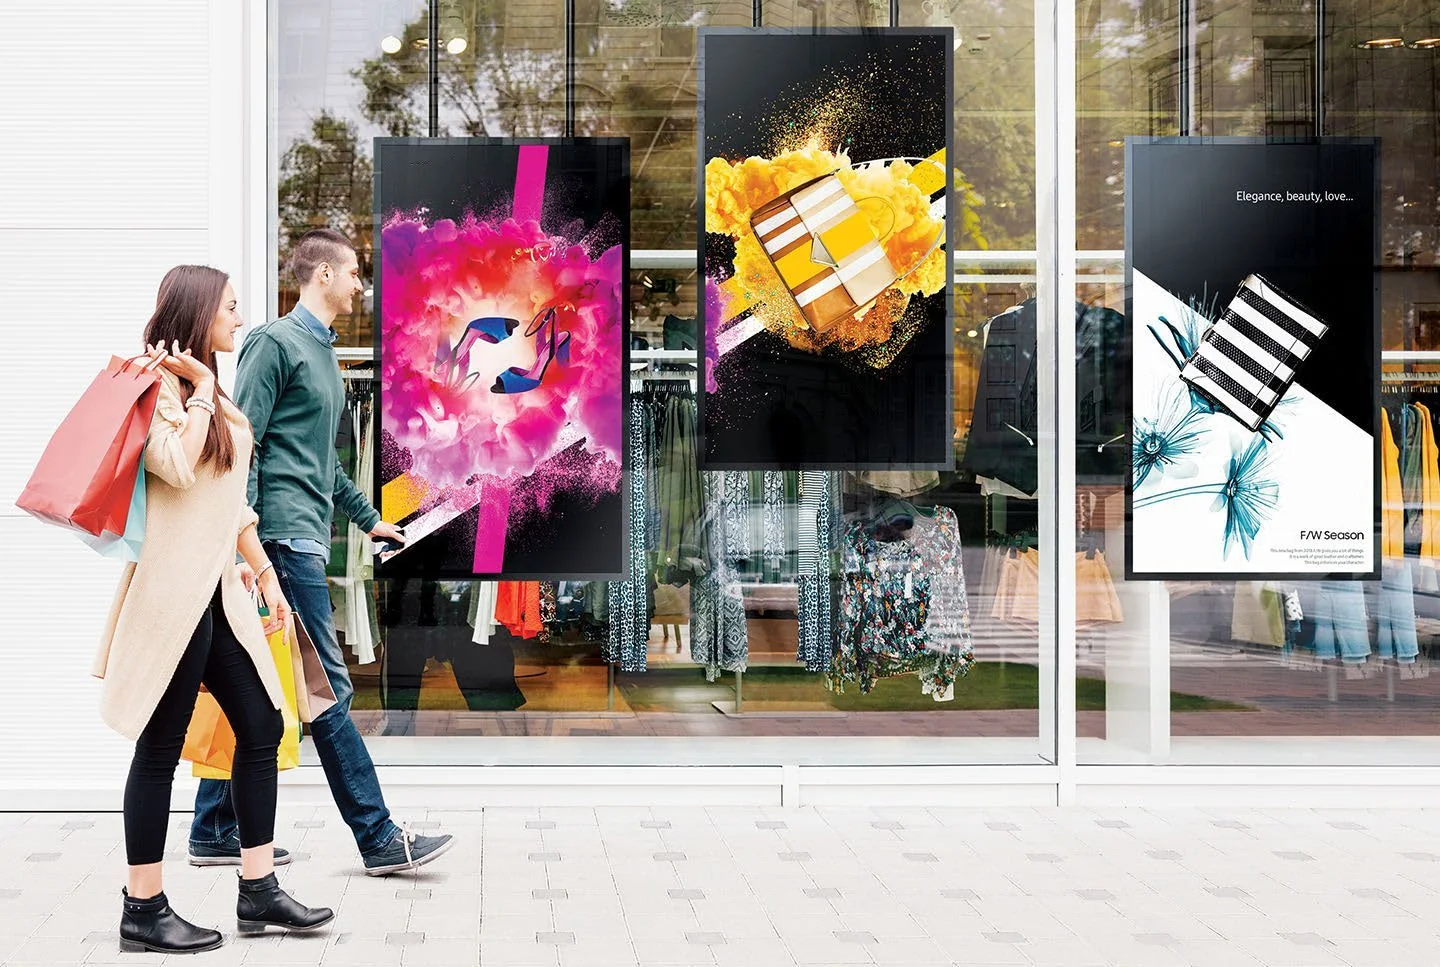
Perceived readability depends on more than the panel rating. Direct sun, reflection from the glazing, screen orientation, content contrast and viewing distance all change the result. A screen facing afternoon sun may need a different brightness option from one installed behind a shaded façade. Ask for the viewing conditions to be assessed with the target site rather than selecting a number in isolation.
The supplied RisingLight window-display datasheet lists 2000-nit options for 32- and 43-inch models, and 3000-nit standard with 3500-nit optional configurations for selected larger models. These are model options, not a universal promise that every installation will remain equally readable under every sun condition.
Balance brightness with heat and operating conditions
Window installations sit near glazing and may receive concentrated solar heat. Review the window direction, direct-sun hours, interior ventilation, gap behind the display and room temperature. A high-brightness panel without a realistic heat path can create avoidable service risk. The datasheet lists a 0 C to +45 C working range for its window-facing family; confirm the site remains within the selected model limits.
Brightness control can also affect energy use and the visual comfort of people inside the store. The supplied material lists an automatic light sensor, silent fan cooling and optional QWP technology for viewing with polarized sunglasses. Confirm which options are included in the quote.
Choose mounting and content as part of the specification
A narrow bezel may suit a retail window, but the installation still needs a secure fixing, cable route and service access. The datasheet lists 7 mm and 16 mm bezel options for selected sizes, plus wall mounting, ceiling hanging and floor-stand installation. Confirm the orientation, mounting points and available depth before production.
Content should be tested at the real viewing distance. Large type, strong contrast and motion that does not rely on subtle detail help a shopper understand an offer while passing the storefront. If the display is part of a chain, define standard content zones, player settings and brightness behavior so each branch can be commissioned consistently.
A procurement checklist for retail buyers
Before requesting a quotation, provide store photos from inside and outside, façade orientation, window dimensions, screen count, operating hours, preferred portrait or landscape orientation, playback approach and destination country. Include whether you want a finished display or only an LCD component. This makes it possible to compare a product recommendation with the actual opening and installation conditions.
For a multi-store rollout, group locations by window type and sun exposure. A short survey of representative branches can reduce variation in mounting and brightness selection. Ask the supplier to state the model, options, warranty, delivery assumptions and any customer-supplied player or network equipment in the quotation.
When to choose a window display instead of an outdoor unit
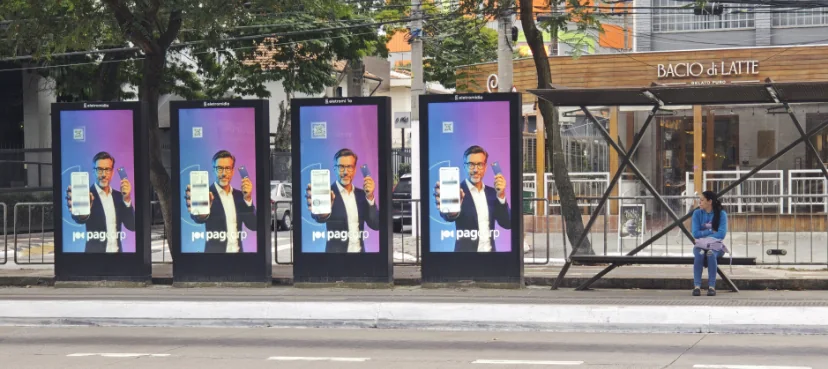
Window-facing displays are designed for viewing through a storefront opening and are typically installed within the retail environment. An outdoor advertising unit is intended for exposed outdoor placement and uses a weather-rated enclosure. Do not substitute one category for the other without checking environmental limits, sealing, installation and local requirements.
Validate the storefront before approving a rollout
A useful pilot should represent the difficult locations in the estate, not only the easiest branch. Include one façade with strong afternoon sun, a different glass type or a constrained mounting depth if those conditions exist across the rollout. Photograph the screen from the principal pedestrian approach at several times of day, and record whether reflections come from the display surface, the shop interior or the opposite side of the street. This makes the brightness decision evidence-based and gives the merchandising team a reference for content design.
Agree a commissioning checklist with the installer and retail operator. Check orientation, level, fixing security, cable concealment, ventilation clearance, service access, player connection and brightness-control behavior. If automatic light sensing is specified, test its response in the installed location and agree a practical operating range. Keep a record of the model code and options at each branch so replacement units can be matched without relying on photographs or informal descriptions.
For chain buyers, also confirm how the screen will be updated and supported. The display hardware, media player, CMS subscription and store network may come from different suppliers. State who loads initial content, who owns credentials, how branch staff report faults and which spare parts are held locally. A clear handover is especially valuable where stores operate extended hours and a service visit must be scheduled around trading.
Make the specification comparable across suppliers
Ask every bidder to quote against the same window drawing and operating brief. Separate the display model, brightness option, glass treatment, mounting hardware, player and software so that a lower headline price does not hide a different scope. Require the quotation to identify included accessories and customer-supplied items, and to list any assumptions about power, signal, installation and commissioning. For a chain project, request the same information for each approved model rather than a generic family brochure.
Keep a short decision record explaining why the selected configuration fits the site: measured viewing conditions, screen size, mounting, thermal conditions and service method. This helps the procurement team handle substitutions and gives store operations a clear reference after handover. If the glass, sign position or content strategy changes during construction, reopen the display review before the final unit is released.